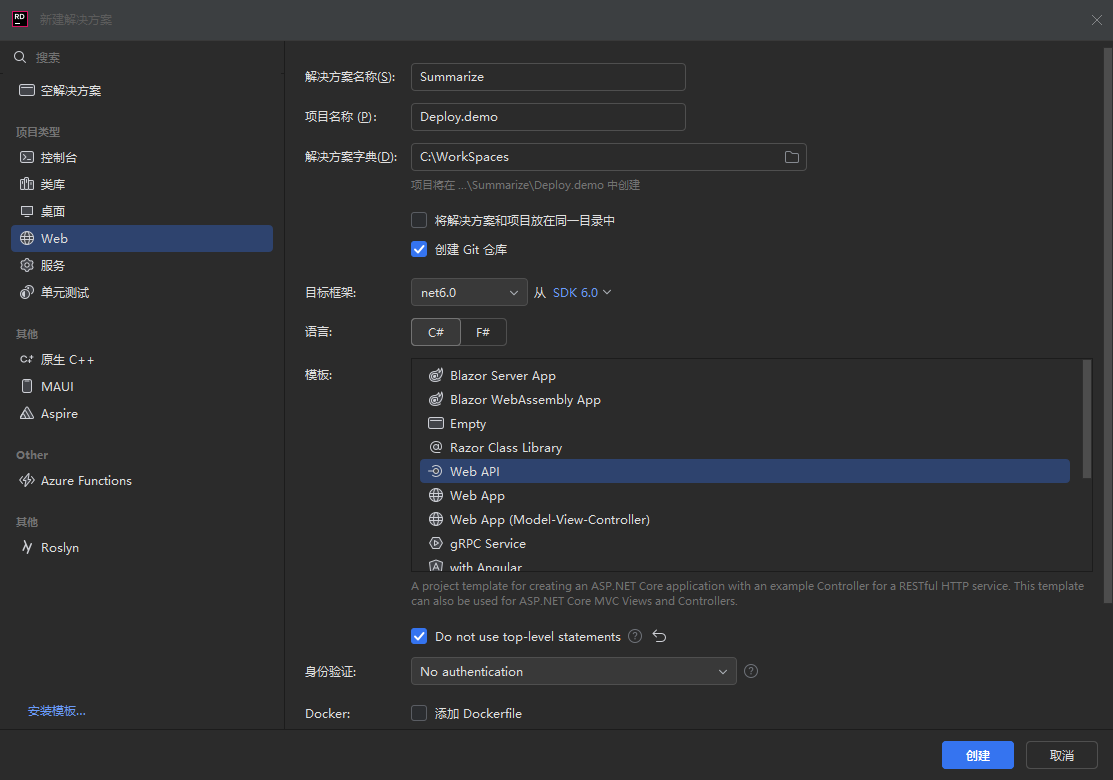
一. 创建 .net core web api 项目

二. 配置 appsetting.json 文件
{
  "Logging": {
    "LogLevel": {
      "Default": "Information",
      "Microsoft.AspNetCore": "Warning"
    }
  },
  "AllowedHosts": "*",
  "Kestrel": {
    "Endpoints": {
      "Https": {
        "Url": "http://0.0.0.0:62101"
      }
    }
  }
}
三. 设置发布配置
构建发布配置,服务器选择 sftp,如果初步发布时失败,可以先发布到本地文件夹一次,然后就可以构建成功


四. 配置启动服务
- 文件位置位于
/etc/systemd/system,新建服务文件 deploy.demo.service 配置服务命令
[Unit]
Description= DEPLOY-DEMO SERVICE.

[Service]
WorkingDirectory=/dotnet/deploy
ExecStart=/usr/bin/dotnet /dotnet/deploy/Deploy.demo.dll
Restart=always
# Restart service after 10 seconds if the dotnet service crashes:
RestartSec=10
KillSignal=SIGINT
SyslogIdentifier=dotnet-example
User=root
Environment=ASPNETCORE_ENVIRONMENT=Staging
Environment=DOTNET_PRINT_TELEMETRY_MESSAGE=false

[Install]
WantedBy=multi-user.target
服务器执行命令
systemctl start deploy.demo
systemctl status deploy.demo
开放服务器防火墙端口,方便访问
firewall-cmd --add-port=62101/tcp --permanent firewall-cmd --reload- 测试访问是否正常


